Showing posts with label mixed media print. Show all posts

Wednesday, November 21, 2012

Holiday Cards Are Printed

 So the holiday cards are now printed!  I printed 50 cards with 45 going out to family and 5 to sell, three will be listed on the 22nd for the ebay Nibblefest contest. One will be listed in my etsy shop and the other in my artfire shop.  I will also list the two proofs, one in etsy the other in artfire.

Here you can see the rainbow roll.  I decided not to use silver as it was too dark for what I had envisioned.  So the roll is pink, violet and indigo.  I used Graphic Chemical Water Soluble Relief Inks Carnation Red, Opaque White, Purple and Blue.  I mixed Flamingo and  Pearl White shimmer pigment powder into the pink ink; Violet shimmer powder into the purple ink and blue into the blue ink.

Here you can see the plate.  I glued 3 layers of foam sheets together and adhered 3 wooden snowflake tree ornaments to the foam using double tack then cut around the snowflakes.  I then used double tack to adhere the cut outs to a prepared sheet of plexiglass.  I then decided the design needed some variety in size so I arranged some self adhesive snowflake rubber stamps onto the plexi.  I then rolled the rainbow roll in two directions onto the printing plate, layed the tone on tone cards tone side down onto the inked plate, burnished the back, pulled the paper away and...

Wa-La! Exactly what I had in mind!  
The finished cards will be embellished with a sparkly little jeweled snowflake and mailed out sometime in the next few weeks.  

Sorry but you'll have to go to one of my cyber shops or my ebay listing if you want to see the finished cards...


Monday, November 19, 2012

the first printing of the 2012 Holiday Cards

Started printing my holiday cards yesterday. Here you can see my set up.  There's a clear mat under the plate to protect the countertop.

I had in mind to print pearl white pigment mixed into white ink on top of ivory paper so that I have a pearl white field with ivory border that I can next print a rainbow roll of  silver to blue to violet to pink  snowflakes on top with some flakes breaking the border.

Unfortunately my Graphic Chemical water soluble white ink has yellowed so I got shimmery ivory on ivory...

I even tried mixing in some blue pigment to get a slightly bluish white and though the ink is clearly bluish it still printed ivory...

oh well I like the way the woodgrain printed with a tone on tone thing happenin' so I decided to go with it.  I think the rainbow roll will look cool on top...that's today's step...

to be continued...

Wednesday, November 17, 2010

Illustration Friday: Burning

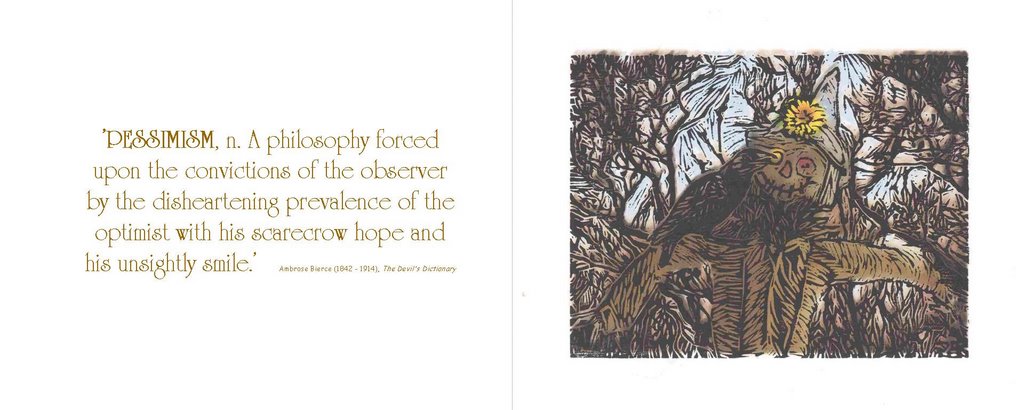
This weeks illustration challenge for Illustration Friday is Burning. I think the above artwork is a fine illustration of the theme! This work was one of 4 woodcut images printed atop digital printouts that were then tipped into editioned books. The accompanying book text for this image is ""How About a Little Fire Scarecrow!" ~Wicked Witch of the West"

First I created a collage of digital imagery


Then I created a woodblock printing plate
Then I blurred the digital collage in photoshop to give it a watercolor painting effect. I printed the digital collage on fine mulberry paper from my canon printer. I then hand printed the woodblock plate on top of the digital printouts. I did an edition of 10 for hardbound books sewn by my late mentor Carol Wagner. I also did an edition of 4 printed on masa paper that were sewn into soft bound books by me. The other three images I created have been printed on 8.5x11" 100% cotton rag in editions of 25 for framing. This one is ready for me to print the edition suitable for framing.

See my blogs about this project at:
http://phare-camp.blogspot.com/2006/10/bookarts-midterm.html
http://phare-camp.blogspot.com/2006/10/autmn-follies-first-five-spreads.html
http://phare-camp.blogspot.com/2006/10/autmn-follies.html

Thursday, July 03, 2008

Baren Print Exchange 37: Drop Some Breadcrumbs by Phare-Camp

Baren Print Exchange 37: Drop Some Breadcrumbs:
While you travel in your grand adventure please leave a trail of breadcrumbs so we may follow and catch up to you when it's our turn to travel...

click on any picture to see it larger, user your browser's back button to return to this blog.

I finished my print for a Baren Forum print exchange. I'm getting it done early as I'm going to Tennessee for a month to visit my son and his family.

The picture here is my printing set-up. I like to print at the kitchen counter as I'm right by the sink and also I prefer to work standing up and the kitchen counter is the perfect working height for me.

This image is of my test strip for the inks I'm using. I can't just do pretty lines all in a row---no I have to make it fun. Anyway I had to also test the transparencies of the inks as well since I planned on overprinting many of the colors. I'm using Speedball water based inks. I mixed up a dark brown with brown, violet and a touch of gold; a moss green with green, a little yellow and more gold; a misty blue with blue a lot of silver and the last color a tan with brown, yellow and gold.

this is the block. its a 9x12" rubber block that is very easy to carve and it holds details rather nicely as you can see by the 1st stage proof I pulled


this is the second color. Instead of carving a block I cut the not-green areas away from a 9x12" sheet of "Skratchfoam" a brand of print medium that is very thin sheets of Styrofoam.


Here you can see 2nd state proof.


and here the print in it's 2nd state.


This is the third color plate,


the third state proof


and the print in its third stage.


for this last little bit I used one of the Scratchfoam pieces that I'd cut away from the green plate and used it like a stamp, taking care to position it just right around the little wren.


And here is the completed print.....


Saturday, October 28, 2006

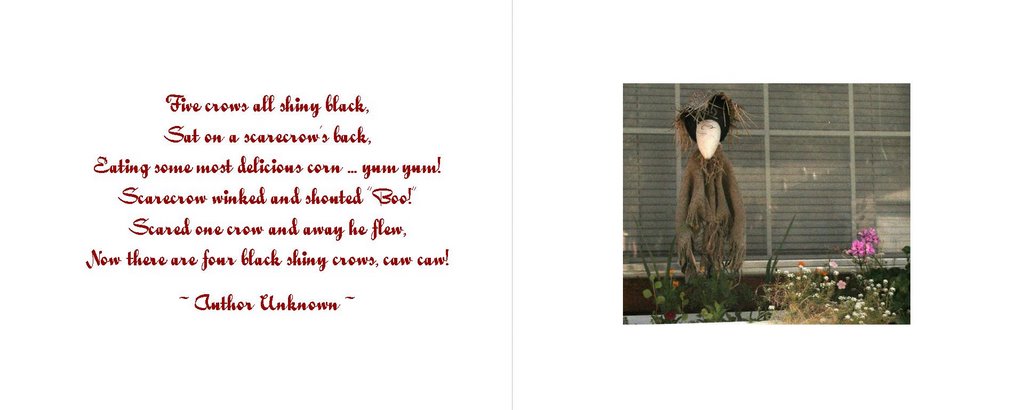
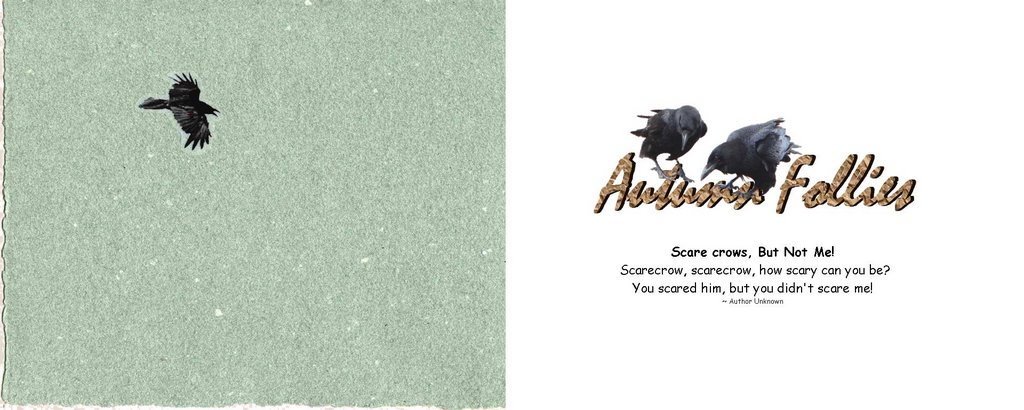
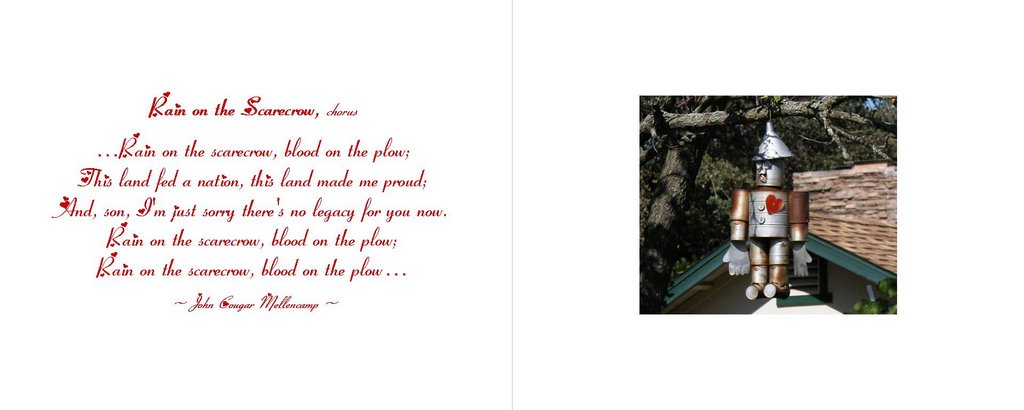
Autmn Follies The first five spreads


I'm posting these in spreads so you can see how it would look as the book is opened. Unfortunately I've not figured out how to get the images to publish in the order I want them in, I even tried using sequetial file names but that trick didn't work...oh well I hope you all enjoyed my little book...I'm having fun in this class and there is sooooo much cool stuff I'm learning.

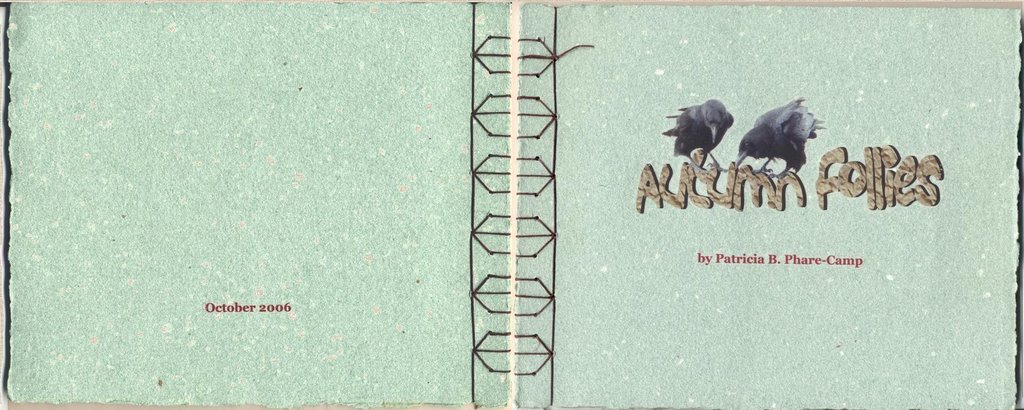
Each sheet of Masa paper is 20" x 8". I formatted each sheet in Microsoft publisher so it would print the graphic for one page and the text for the following page. Each sheet is folded in half with the folded edge to the outside, meaning it is the edge you will turn as you open the pages. The two edges of each sheet that were folded together were bound within the stitces. I printed 8 sheets that folded and bound made up 16 pages.

The rest of the book is in the next/previous post. Remember, as always you can click on an image to see a larger view, when done looking at it use your browser's back button to get back to the blog. ~PPC~

Autmn Follies


Since some have expressed interest I've JPGed the book pages. They are going to cross a couple of posts as I can only upload 5 images at a time...

Everything was jet printed on Masa paper. It is heavy enough to be pulled through the printer's rollers and one side has a smooth surface that doesn't bleed when printed. It's also a fine paper and is archival. The cover is a rare paper that has been in my paper files for about 15 years waiting for me to figure out what I was going to do with. At first I was going to make this a 2 book edition but decided since I have half a sheet of the cover paper left I may as well use it to cover two more books. After that - that's it, it's also a very expensive paper and I'm not buying more....